How to Transcribe Audio to Text: A Practical Guide
A step-by-step guide to turning audio and video recordings into accurate, speaker-labeled transcripts, with practical tips for cleaner results.
To turn a voice recording into text, upload the recording to a transcription tool, review the resulting transcript, and export or share it in the format you need. The same workflow works for a phone voice memo, interview, lecture, podcast, meeting recording, or video file: the recording becomes searchable, editable text instead of something you have to replay to find a detail.
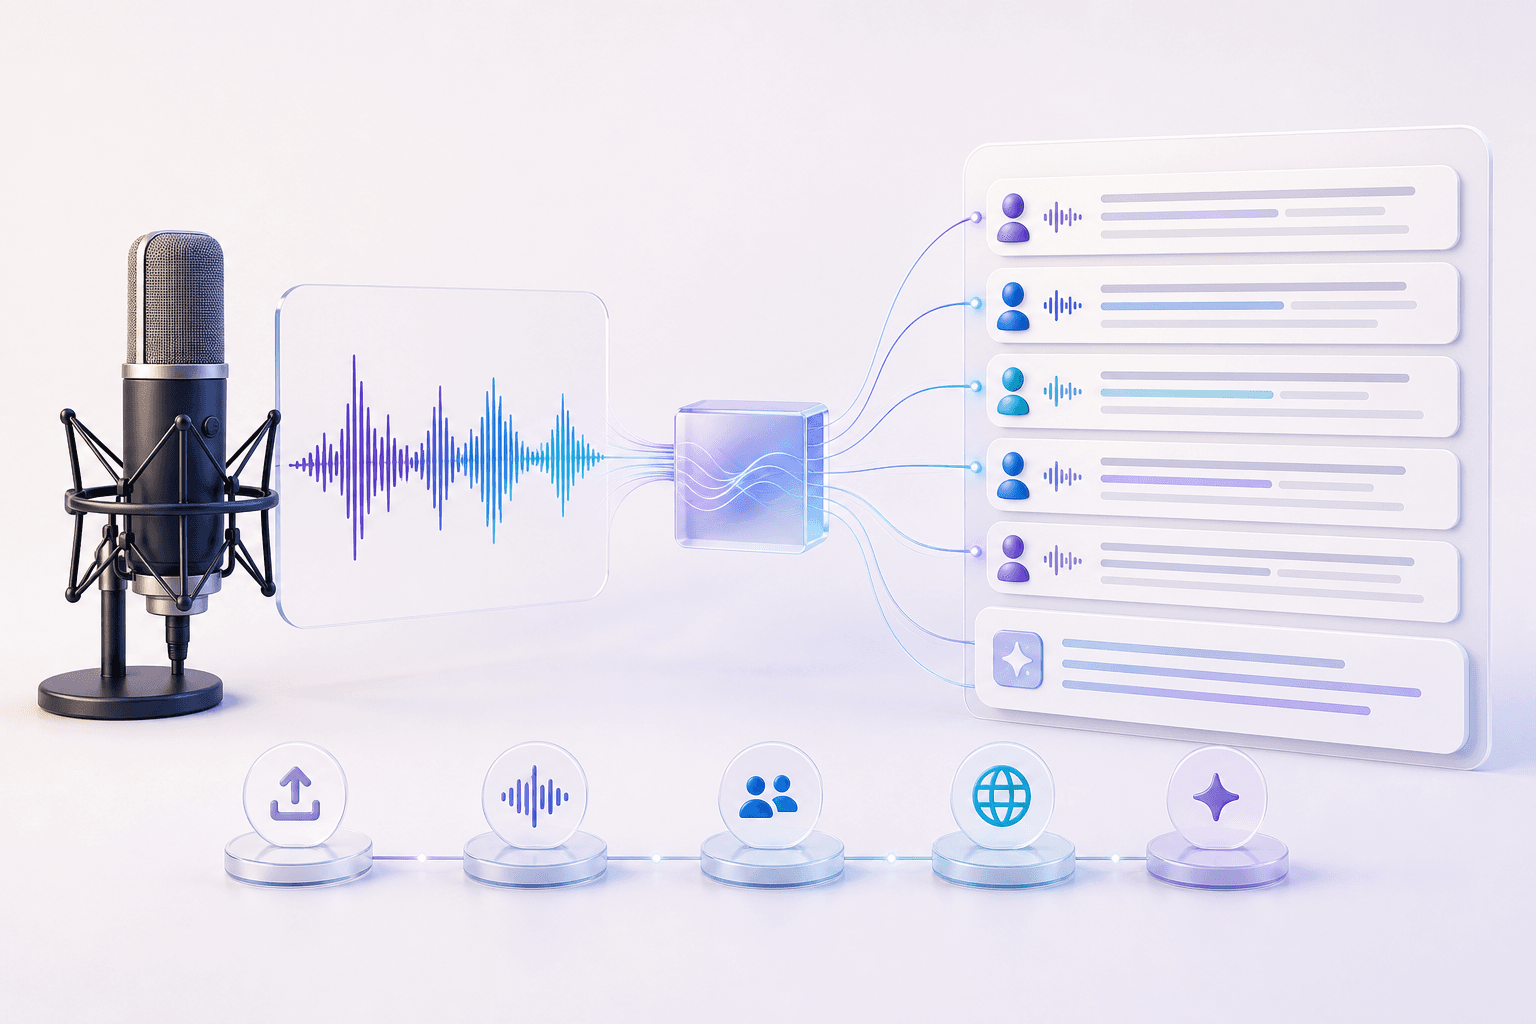
How to transcribe an audio file to text
Start with the original recording whenever you can. Upload it, choose any optional processing you need, then let the service create the transcript. On Senite’s transcription page, common audio and video formats — MP3, WAV, M4A, MP4, AAC, and FLAC — can go straight into the workflow, so a separate conversion step is usually unnecessary.
After transcription, scan names, specialist terms, and passages where people spoke over one another. If the recording has more than one speaker, speaker labels make it much easier to follow the conversation and correct the small details that matter to you.
Voice recording to text: a practical workflow
1. Keep the clearest source file
Use the original file rather than a recording forwarded repeatedly through messaging apps. A clear recording gives any speech-recognition system a better starting point.
2. Upload the recording and create the transcript
The core task is simply audio-to-text conversion. Senite produces a timestamped transcript and automatically labels speakers when more than one person is present. If you want the technical background, how AI transcription works explains the separate recognition and speaker-diarization steps.
3. Review the details that need human context
AI transcription is most useful when you treat the transcript as a fast first draft. Check proper names, unusual vocabulary, and any sentence that could change meaning if a word is wrong.
4. Use the transcript in its next format
A transcript may be the final deliverable, or it may become a translation, a meeting summary, research notes, or a source document. Senite can optionally translate and summarize the transcript in the same workflow, then export the result as a PDF or plain text. See pricing for how those processing options use credits.
What affects transcript quality?
Audio quality can significantly affect transcript quality, while recording length mainly affects how much audio must be processed. Recording closer to the microphone, reducing background noise, and avoiding overlapping speakers all make speech easier to distinguish. Accents and multi-speaker conversations can still be transcribed, but clean audio gives the system more useful signal to work with.
Format matters most when the source is already difficult. For ordinary voice notes and calls, use the format your device created. For a detailed comparison of MP3, WAV, M4A, AAC, FLAC, and MP4, read our guide to audio formats for speech recognition.
What happens after you upload?
The time needed to receive a transcript can vary with the recording, upload, and optional processing steps. Our guide to AI transcription time explains those factors without making a one-size-fits-all promise.
If you need a translated conversation while it is happening rather than a transcript from a finished recording, use a different workflow: live translation versus traditional translation explains when each approach fits.
Back to all articles